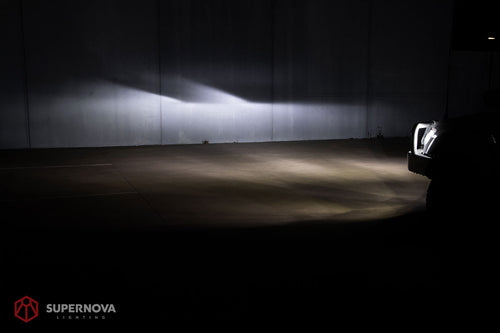

Driving Light/ Light Bar Fogging Explained. 
Weather-sealing History
Moisture within lights can be a concerning sight, as it is often a sign that the waterproof seals have failed. This was traditionally caused by the use of adhesive seals, which would fail over time due to the expansion of hot air inside the light housing. To combat this issue, our lights are equipped with a breather valve, which allows for the release of hot air, thus maintaining an equal internal and external pressure within the light.
Press Release Valve
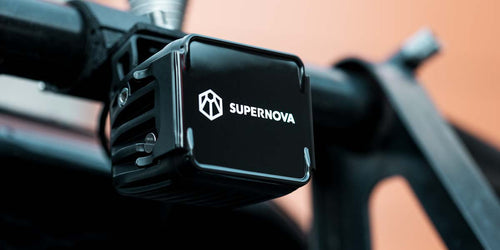
To battle the internal pressure and ensure our lights last a lifetime, we have equipped all of our auxillary lights with a breather valve. The breather valve eliminates any potential pressure build up within the light fixture as it vents to atmosphere.

Condensaiton - Humid Air.
As the fixture cools down at a later period, any potential moisture within atmospheric air may enter and can accumulate on the internal face of the GE Lexan lens. All atmospheric air will have a degree of moisture which we refer to as humidity and all light fixtures will have moisture within the air too. It becomes visibly apparent when the moisture level is both higher and there is a temperature difference on the lens.
Rest assured, this can be visibly alarming, but the lens will always have a larger temperature differentation than the solid heat sink and as such any moisture that collects will be on the lens, far away from the PCB and LEDs.
Rest assured, this can be visibly alarming, but the lens will always have a larger temperature differentation than the solid heat sink and as such any moisture that collects will be on the lens, far away from the PCB and LEDs.
Dry Out Solution.
To reduce moisture and clear it out of the light fixture we induce heat and air flow.
Heat will evaporate moisture into a gas and air flow will allow it to exit the light fixture.
Heat can be induced by either operating the light fixture for an extended period of time or more easily by parking your vehicle in the sun and allowing the black lights to heat up.
Air flow can be increased by removing the breather valve with a flat head screw driver. Once the moisture is cleared, replace the valve.

Step 1. Remove Breather Valve.
Locate the breather valve on the unit. Using a flat head screwdriver, unscrew the breather valve and place it on a clean surface, ensuring that there are no contaminants on the thread or O-ring. This will increase air circulation within the light and aid in the evaporation of moisture. Turning on the lights will also generate heat and speed up the process. Once complete, reinstall the breather valve.
Step 2. Heat (Sun or operationg)
Remove the breather valve as described in Step 1, and place the driving light in direct sunlight on a dry day. The heat from the sun will aid in evaporating the moisture and increasing air circulation. Reinstall the breather valve once the condensation has been cleared.
Is this normal?
We will often see this shortly after installation or even when unboxing as there may be a rapid temperature change to a light that has been stored in a box for some time. Typically, once cleared we rarely see an accumulation again and the breather valve allows for pressue equalisation, allowing hot air out and keeping water out.
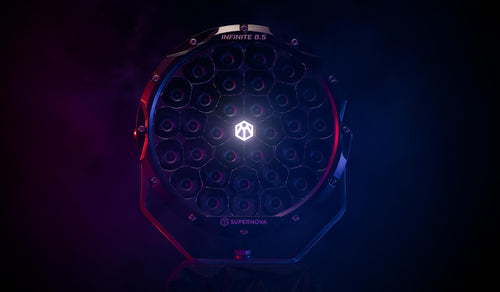
IP69K Waterproof?
Our lights are tested to 3200 PSI of hot water jetting and will hold up to the most extreme conditions. However, similar to how your vehicles windscreen may fog up from time to time, it's not that there is water ingress entering the light fixture as much as the moisture within the air is condensing on the lens.
You may have noticed this when washing a car and the headlights quickly fog up, often it's the cold water cooling the lens and in turn cooling the air within the headlight, air which contains moisture.
If you have tried the above processes and are still unable to clear the condensation, we are here to help! Please send us an email with some photos, or feel free to get in contact with our team at (03) 9071 2990